If your choir has member recordings switched on, you can sing your part against the accompaniment and keep the result. Open a song and tap Record.
Wear headphones
This is the single thing that most affects how your take sounds.
Choirside plays the backing tracks into your headphones while it records your voice, and lines the two up afterwards so they sound like one performance. On a speaker, the microphone picks the accompaniment up along with you, and no amount of adjustment afterwards fixes it. The app will nudge you about this, and it’s worth listening to.
Wired headphones are the safest. Bluetooth works (the app compensates for its delay), but it’s one more thing to go wrong.
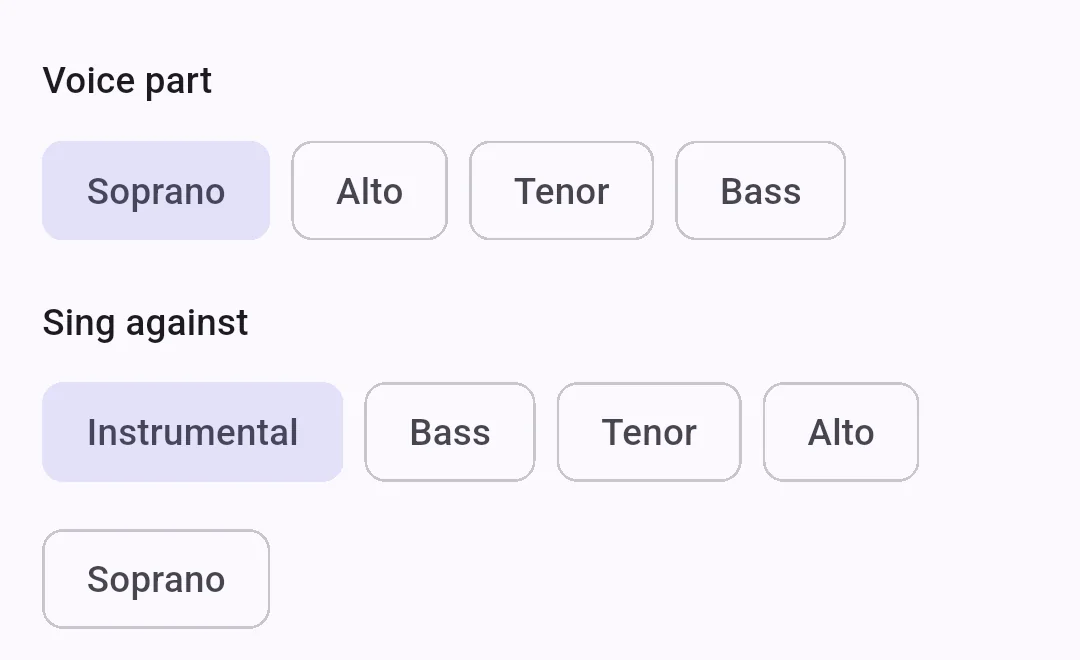
Making a take
- Say what you’re recording. For a singer that’s a practice take: your own part, private to you and your director. The other options on that list are reference material for the whole choir, covered in building your music library.
- Choose your voice part.
- Choose what to sing against. This isn’t only the instrumental: you can sing against the other voice parts too, which is the fastest way to learn an entry that depends on hearing the line above you. Pick several and they play together.
- Record. If you’ve turned on Count-in before recording in Settings, you get a four-beat metronome lead-in at the song’s tempo so you can come in cleanly.
- Listen back, then either Upload recording or record it again. Nothing leaves your phone until you press upload, so a take you’re not happy with is simply re-recorded and never sent anywhere.
While recording, the button marked Backing tracks in your headphones mutes and unmutes the accompaniment without stopping the take, which is useful for checking whether you’re actually in tune with it or just following it.
Two warnings you may see:
- “Too loud: back off the mic” means you’re clipping. Move further from the phone; a clipped take can’t be rescued afterwards.
- “The audio output changed while recording”: your headphones dropped out mid-take, usually a Bluetooth disconnection. Check them before trusting the result.
The first time you record, your phone will ask permission to use the microphone. Recording can’t work without it, so if you decline, you’ll need to grant it in your phone’s settings.
Who can hear it
A take you don’t upload goes nowhere at all. It is kept on your phone, and pressing upload is a separate, deliberate step.
Every take you keep is listed under Your takes on the song, newest first. Tap one to play it back, and use the bin icon to delete it. There is no limit on how many you keep and nothing removes them to save space, so the only thing that deletes a take is you asking for it. Re-recording is the exception: that replaces the take you just made, which is what re-record means.
What you upload is a practice take, and practice takes are private. Other members of your choir never see them. Your director and your section leaders can, and that is the point. It’s how they hear that the tenors are all guessing at bar 40 before the next rehearsal rather than after it.
Your choir may cap how many takes are kept per song, so old ones can drop off as you add new ones. You can delete any of your own takes yourself.
A sectional track is different: that’s a recording meant as a model for a whole section to learn from, and it’s visible to the choir once somebody with permission publishes it. If you’re a section leader recording one of those, expect “Sectional track submitted for approval” rather than it appearing straight away.
Importing instead of recording
If you already have a file, you can import it rather than record. MP3, M4A and WAV are accepted. This is offered for accompaniment and reference tracks, not for practice takes. The point of a practice take is that you sang it.
If something goes wrong
See troubleshooting for takes that won’t upload, recordings that sound out of sync, and missing microphone permission.